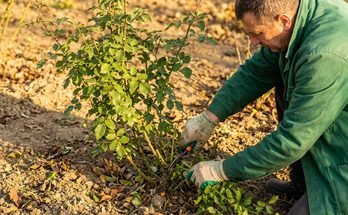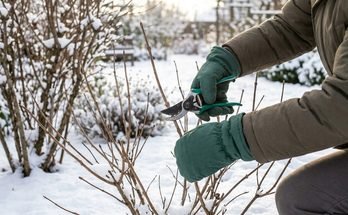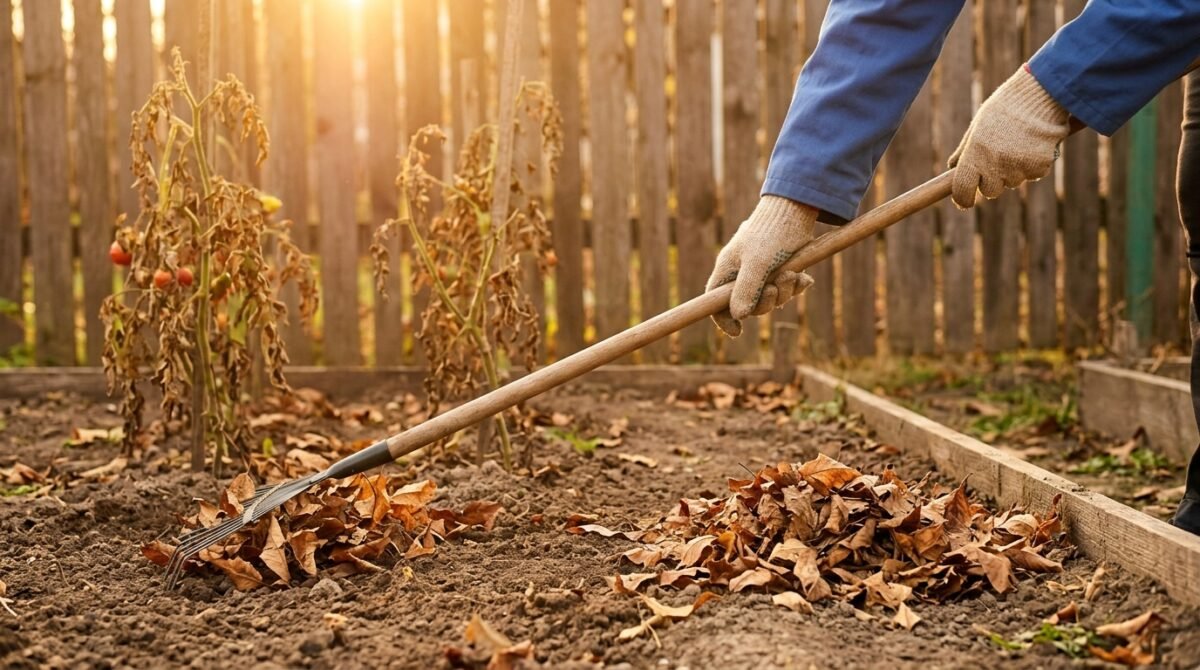
Winter preparation is not simply a matter of clearing the garden, cutting everything back and waiting for spring.
A well-prepared garden enters winter with its vulnerable plants protected, its soil in good condition, its water systems safe from freezing, and its structures and equipment ready for harsh weather.
The challenge is knowing what actually needs to be done, and what doesn’t.
After gardening through cold winters, I’ve found that the best preparation is rarely the most aggressive. You don’t need to strip every bed bare or perform every possible autumn task. You need to identify the parts of the garden most likely to suffer during winter and address those risks before the weather becomes difficult.
This guide takes you through that process from the first inspection to the final pre-freeze check.
When Should You Prepare Your Garden for Winter?
Start preparing several weeks before the conditions that normally bring damaging frost or sustained freezing to your area.
Don’t rely entirely on a fixed calendar date.
Instead, watch for:
- Shorter days
- Consistently cooler nights
- Slowing plant growth
- Plants beginning to enter dormancy
- The approach of your local first-frost period
- Forecasts for significant cold
- Increasingly wet or windy weather
Your local average first frost is useful for planning, but it isn’t a guaranteed date.
A better strategy is to start general preparation early and reserve the urgent work for the period immediately before damaging frost or freezing weather.
Check out our detailed guide about when to winterize your garden.
Garden Winter Preparation Checklist
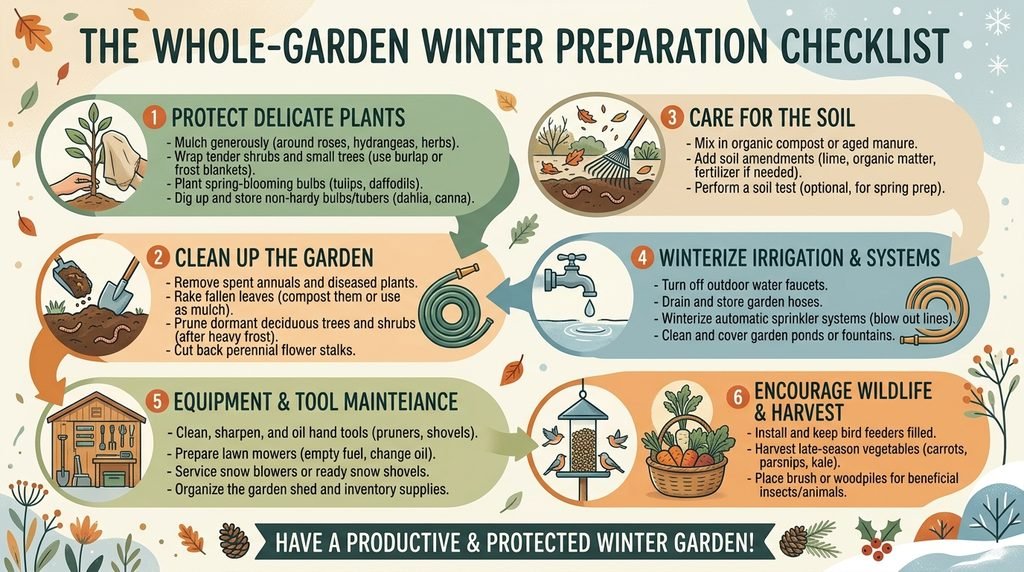
Before getting into the details, here’s the overall sequence:
- Inspect the entire garden.
- Identify vulnerable plants.
- Finish necessary harvesting.
- Remove problematic plant material.
- Control persistent weeds.
- Assess soil and drainage.
- Protect exposed roots and soil.
- Prepare containers.
- Prepare frost protection.
- Secure garden structures.
- Winterize water equipment.
- Clean and store tools.
- Prepare lawn and outdoor equipment.
- Make any necessary winter repairs.
- Perform a final weather-based inspection.
The order matters.
There’s little value in spending an afternoon making paths perfectly tidy if a tender container is still sitting exposed to an approaching freeze.
Read Also: Winter Garden Checklist: What to Do Before Winter
1. Start With a Walk Around the Entire Garden
Before you start cleaning, walk around the property.
Don’t take your tools.
Just look.
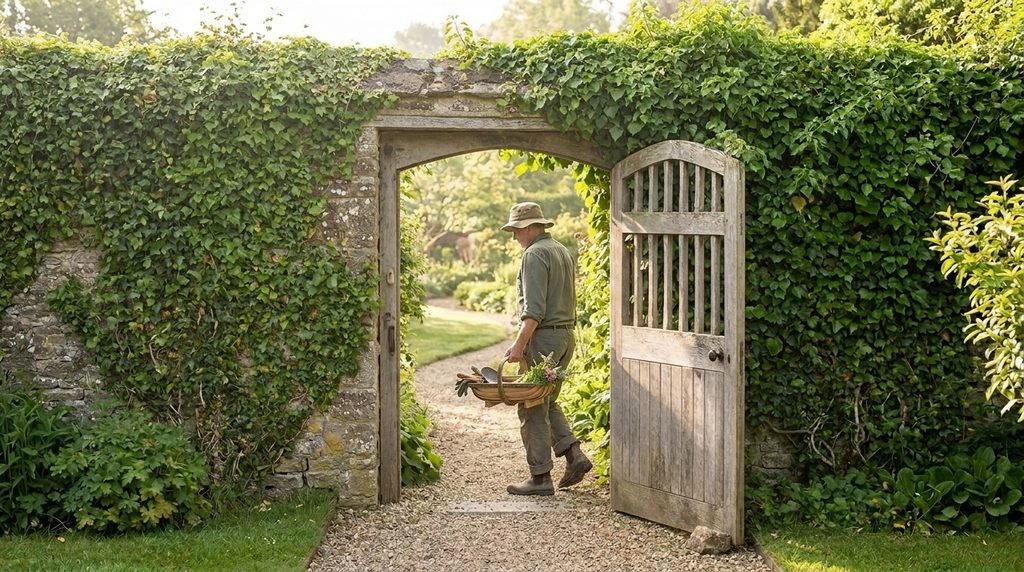
Inspect:
- Flower beds
- Vegetable beds
- Trees and shrubs
- Containers
- Lawn
- Garden paths
- Hoses and faucets
- Irrigation components
- Trellises
- Raised beds
- Fences
- Greenhouses or cold frames
- Sheds and storage areas
You’re looking for winter vulnerabilities, not just things that look untidy.
Ask yourself:
- Which plants are least cold-tolerant?
- Which plants were planted recently?
- Where does water collect?
- Which areas are exposed to winter wind?
- Are any roots exposed?
- Which containers may need protection?
- Is anything likely to break under snow or ice?
- Are water lines exposed to freezing?
- Are tools and equipment ready for storage?
Make a short list.
This first inspection gives you a much better winterization plan than immediately starting to rake and prune.
2. Identify Your Most Vulnerable Plants
Not every plant needs the same amount of winter preparation.
I like to divide plants into five groups.
| Plant group | Typical winter concern | Preparation priority |
|---|---|---|
| Established cold-hardy plants | Usually low risk | Low |
| Young or borderline-hardy plants | Greater root and cold exposure | Medium |
| Tender plants | Frost or freeze injury | High |
| Container-grown plants | Rapid root-zone temperature changes | High |
| Newly planted trees/shrubs | Incomplete root establishment | Medium–High |
This simple classification helps prevent a common mistake: protecting everything equally.
A mature plant adapted to your climate may need little intervention, while a recently planted specimen can deserve much more attention.
3. Finish Harvesting Before Severe Cold Arrives
If you have a vegetable garden, check what remains before the first significant freeze.
Harvest mature crops that are vulnerable to cold.
But don’t assume that every crop must come out immediately.
Some vegetables are specifically suited to cool conditions and may continue growing or remain harvestable during part of the winter.
That means your winter preparation should begin with a question:
Is this crop finished, or is it actually part of my winter garden?
If you’re intentionally growing cold-hardy vegetables, treat those beds differently from beds that are being closed for the season.
This distinction prevents unnecessary cleanup and preserves productive winter growing space.
4. Remove Diseased Plant Material
Winter is a good time to reduce obvious disease problems before the next growing season.
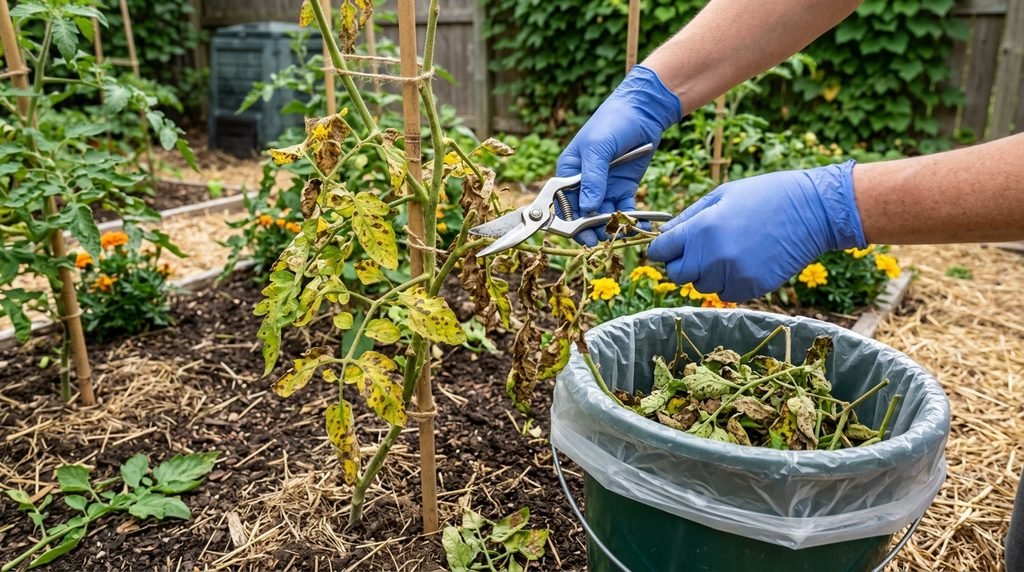
Inspect plants for:
- Significant fungal disease
- Rotten stems
- Severely diseased foliage
- Serious pest infestations
- Plant material that is clearly no longer healthy
Remove problematic material appropriately rather than leaving it simply because the garden is going dormant.
But don’t treat all dead plant material as waste.
Healthy perennial stems and seed heads can provide:
- Winter habitat
- Food for birds
- Shelter for insects
- Visual structure
- Protection around some plants
The goal is selective cleanup, not complete sterilization.
5. Control Persistent Weeds
Winter doesn’t necessarily eliminate weeds.
Remove established weeds before they become a larger spring problem, particularly those that are already producing seed.
Prioritize:
- Vegetable beds
- Around young trees
- Perennial borders
- Raised beds
- Garden paths
- Areas where weeds are spreading aggressively
Try not to disturb the soil unnecessarily.
Repeated digging can expose buried weed seeds and disrupt soil structure.
6. Assess Your Soil Before Adding Amendments
Don’t automatically spread fertilizer, compost or other amendments simply because winter is coming.
Instead, ask why the soil needs an amendment.
Look for:
- Poor drainage
- Erosion
- Compaction
- Exposed roots
- Low organic matter
- Areas where water remains for too long
If you have a known soil problem, address it based on the actual problem rather than guessing.
An important winter rule
Don’t work saturated soil just because the calendar says it’s time to prepare the garden.
Repeatedly digging or walking on wet soil can damage its structure.
Sometimes the best winter preparation is simply to leave wet soil alone until conditions improve.
7. Protect Exposed Soil
Bare soil can be vulnerable to:
- Erosion
- Temperature fluctuations
- Weed establishment
- Heavy rainfall
- Snowmelt
Depending on the garden, you may protect it with:
- Suitable organic mulch
- Cover crops
- Winter crops
- Appropriate garden covers
The correct approach depends on whether the area is an empty vegetable bed, perennial border, raised bed or another type of planting area.
Don’t assume bare soil is always bad
There are situations where a bed needs to remain accessible for winter planting or other management.
The goal is not to cover everything.
The goal is to protect soil where exposure creates a genuine winter problem.
8. Apply Winter Mulch Thoughtfully
Mulch can be extremely useful during winter.
It can help moderate temperature changes around plant roots and reduce erosion and moisture loss.
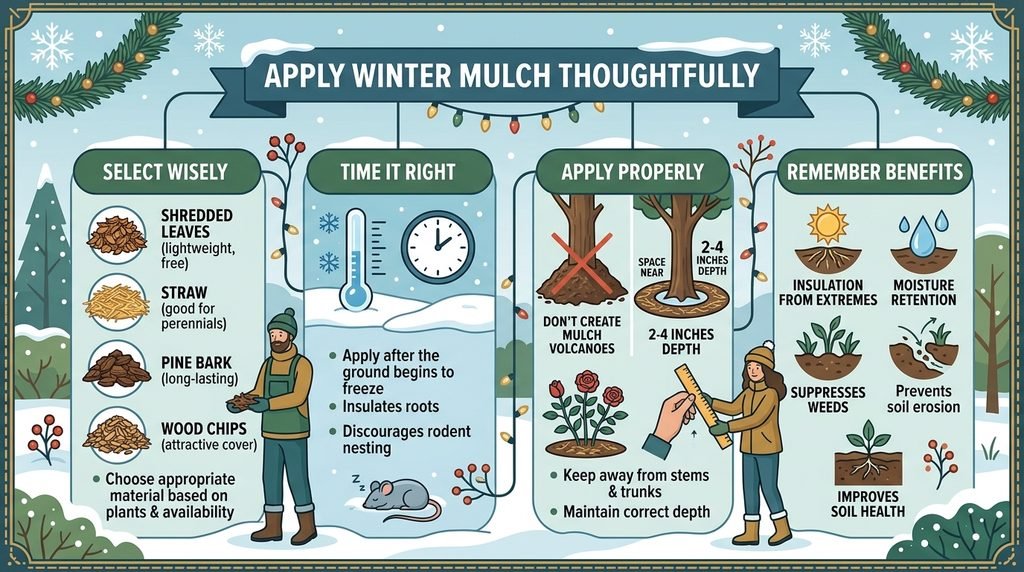
Common materials include:
- Shredded leaves
- Straw
- Pine needles
- Bark
- Wood-based organic mulch
The best material depends on your plants and conditions.
Timing matters
Don’t assume the first cool day means it’s time for a huge layer of mulch.
In many situations, winter mulch is more useful after the soil has cooled and plants have entered or are approaching dormancy.
And avoid this mistake:
Do not pile mulch directly against tree trunks or woody stems.
The goal is to protect the root zone, not keep bark continuously damp.
9. Protect Recently Planted Trees and Shrubs
Newly planted trees and shrubs deserve special attention.
Their root systems haven’t had as much time to establish.
Before winter, check:
- Root-zone moisture
- Exposed roots
- Mulch
- Stakes
- Wind exposure
- Trunk condition
- Soil settling
Don’t automatically wrap the entire plant.
First determine the actual risk.
For one plant, the biggest problem may be root exposure.
For another, it may be strong winter wind.
For another, it may be wildlife feeding on young bark.
Good winter preparation is risk-specific rather than blanket protection.
10. Prepare Tender Plants Before Frost
If you grow plants that are vulnerable to frost, don’t wait until frost is already forming.
Prepare protection ahead of the forecast.
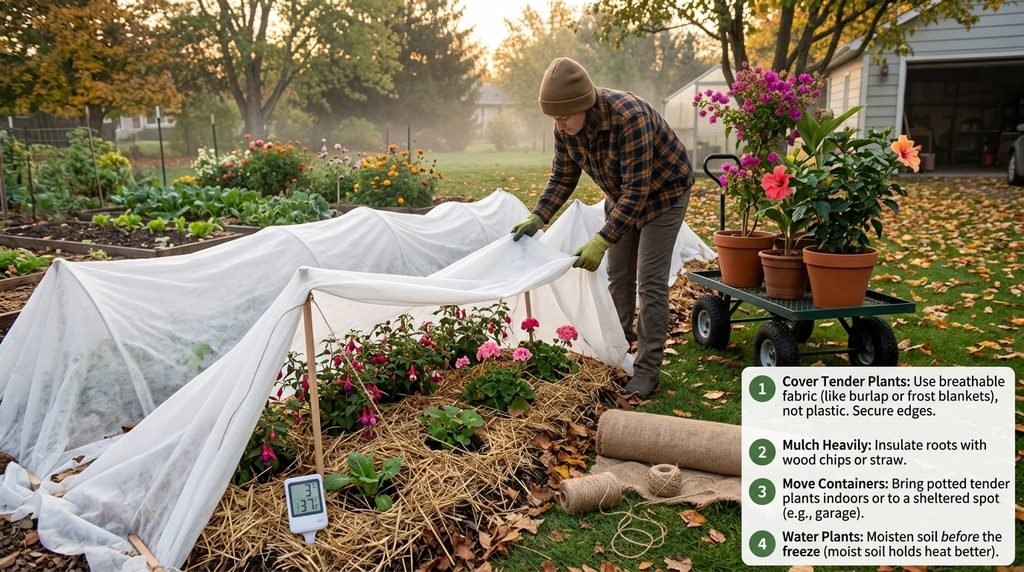
Depending on the plant and situation, this may involve:
- Moving a container
- Applying temporary frost protection
- Using appropriate covers
- Protecting the root zone
- Moving plants into a suitable protected environment
Keep frost-protection materials accessible.
When an unexpected cold night is forecast, you don’t want to discover that the frost cloth is buried underneath three years of gardening equipment.
11. Give Container Plants Special Treatment
Container plants are one of the easiest parts of a garden to underestimate in winter.
The soil surrounding an in-ground plant provides a large thermal buffer.
A pot contains a much smaller volume of soil.
That means the root zone can experience temperature changes more rapidly.
Before winter, classify your containers:
Containers that can remain outdoors
These contain plants appropriately suited to your winter conditions and are positioned safely.
Containers that need shelter
Move them to a protected location or provide suitable insulation.
Containers with tender plants
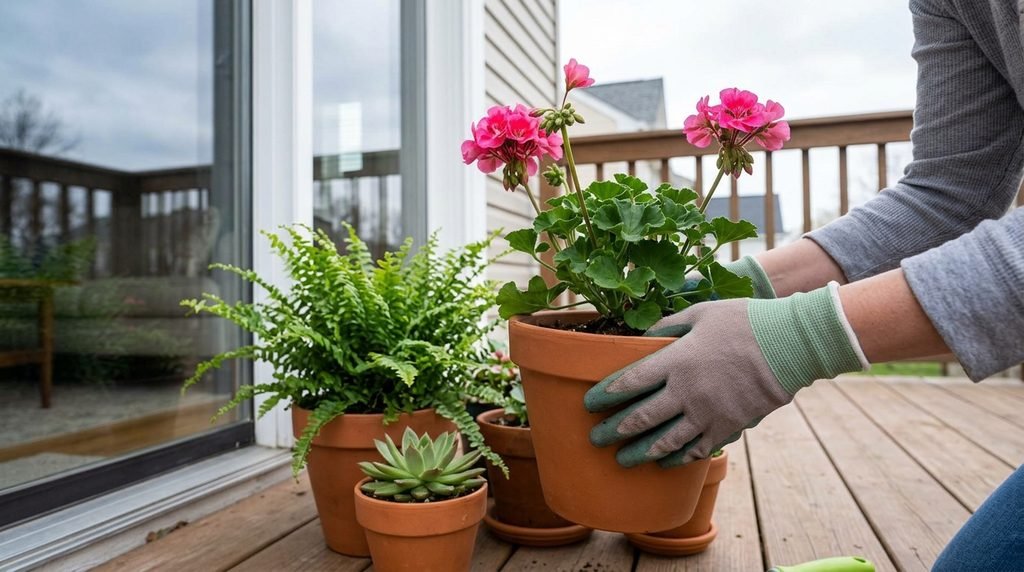
These may need to be relocated into an appropriate protected environment.
Don’t judge the risk solely by what happens to the leaves.
Winter survival starts at the roots.
12. Check Garden Beds and Raised Beds
Walk around every growing bed.
Look for:
- Erosion
- Exposed roots
- Damaged edging
- Cracked raised-bed walls
- Loose fasteners
- Soil spilling from beds
- Poor drainage
Raised beds deserve particular attention because their soil is exposed to cold from more sides than soil at ground level.
If the bed is empty, consider whether mulch, a cover crop or another soil-protection method makes sense.
If you’re growing winter vegetables, keep the bed productive rather than treating it as a finished garden.
You May Also Like: How to Winterize Garden Beds: Complete Guide
13. Protect Against Winter Erosion
Heavy rain and snowmelt can move soil surprisingly quickly.
This is particularly noticeable on:
- Slopes
- Newly prepared beds
- Raised beds
- Bare vegetable plots
- Areas with concentrated runoff
If water repeatedly flows through a bed, don’t rely on mulch alone.
Find out where the water is coming from and where it is going.
A layer of mulch can reduce surface erosion, but it cannot solve a serious drainage problem by itself.
14. Prepare Your Garden Water System
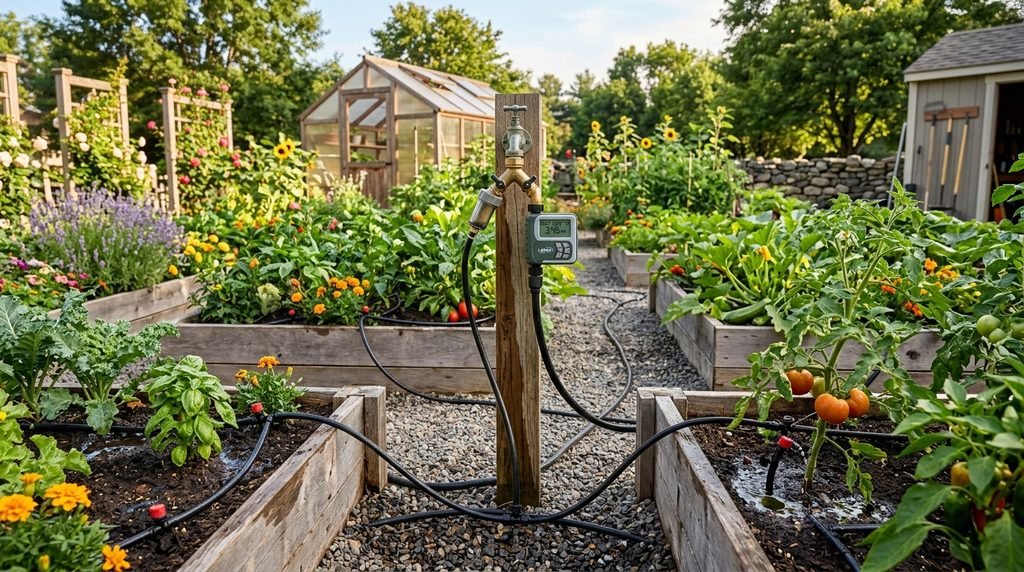
Before sustained freezing weather arrives, deal with outdoor water equipment.
At minimum:
- Disconnect hoses.
- Drain hoses.
- Empty suitable watering equipment.
- Inspect exposed connections.
- Prepare outdoor faucets according to your plumbing setup.
- Winterize permanent irrigation systems according to manufacturer or installer instructions.
Don’t assume that turning off the water supply removes all water from an irrigation system.
Trapped water can freeze and expand.
This is one of those jobs that takes little time when done before winter and can become an expensive problem when ignored.
15. Inspect Garden Structures
Winter weather can place considerable stress on structures.
Inspect:
- Trellises
- Arbors
- Plant supports
- Greenhouses
- Cold frames
- Fences
- Gates
- Raised-bed frames
- Garden sheds
Look for:
- Rot
- Rust
- Loose joints
- Cracks
- Weak supports
- Damaged panels
Repair small problems before snow, ice or strong winds make them worse.
Think about snow load
A structure that handles autumn rain easily may struggle under heavy, wet snow.
If you live in a snowy climate, winter preparation should include checking whether structures have adequate support.
16. Prepare the Lawn Separately
The lawn is part of the property, but it shouldn’t be treated exactly like a garden bed.
Continue mowing while grass is actively growing and adapt the final mowing approach to your grass type and climate.
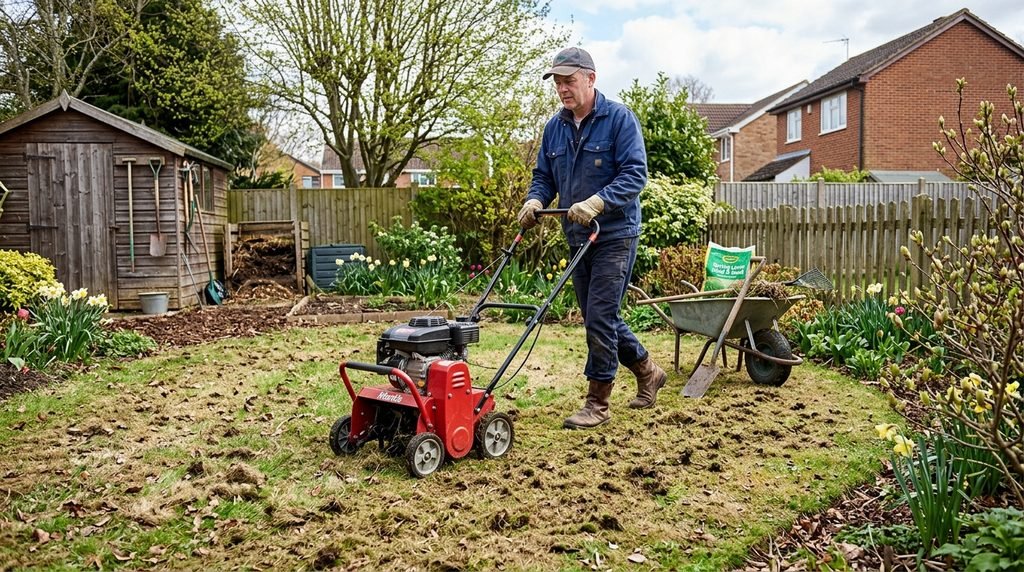
Before winter:
- Manage excessive leaf accumulation.
- Check drainage.
- Avoid unnecessary traffic on vulnerable turf.
- Address appropriate bare or damaged areas.
- Adjust watering as temperatures fall.
- Prepare lawn equipment for storage.
Don’t automatically apply every possible lawn treatment simply because winter is approaching.
Grass type matters.
A winter strategy suitable for cool-season turf may not be appropriate for warm-season grass.
Check out Frosty Flora’s comprehensive breakdown of winterizing your lawn
17. Clean and Store Garden Tools
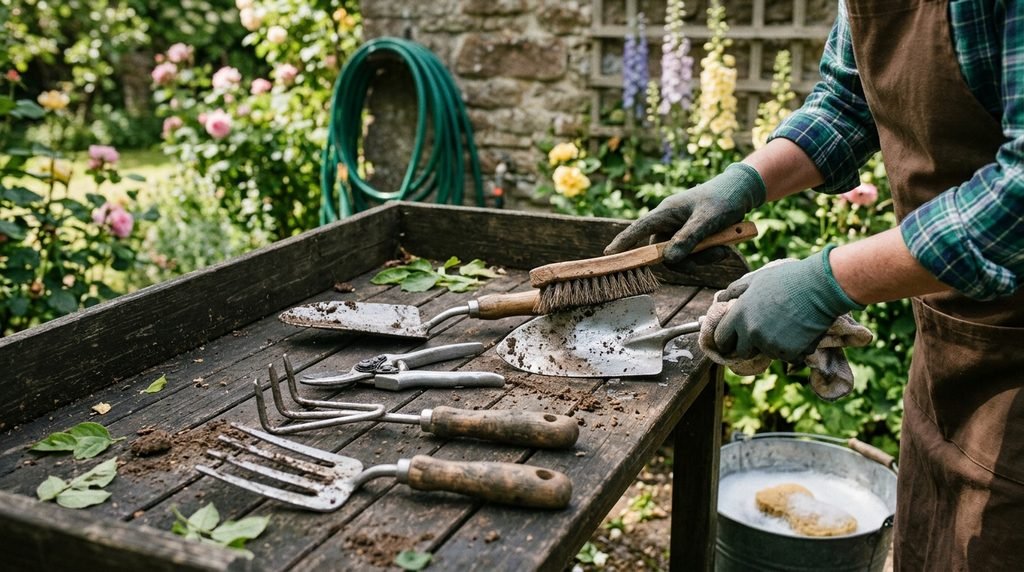
Before putting tools away for the season:
- Remove soil.
- Clean plant residue.
- Dry the tools thoroughly.
- Sharpen cutting tools.
- Inspect handles.
- Check for rust.
- Repair or replace damaged tools.
- Store them somewhere dry.
Pay particular attention to pruners and loppers.
A sharp cutting tool makes spring work easier and cleaner.
Don’t put wet tools into a closed container and expect them to remain rust-free all winter.
18. Prepare Powered Garden Equipment
Garden equipment deserves its own winterization process.
Depending on what you use, this may include:
- Lawn mower
- String trimmer
- Leaf blower
- Hedge trimmer
- Chainsaw
- Garden tractor
Follow each manufacturer’s storage and maintenance instructions.
Fuel systems, oil, batteries and moving components can have different requirements depending on the machine.
Don’t treat all equipment as though it uses the same winter-storage procedure.
19. Don’t Prune Everything Just Because Winter Is Coming
Autumn can create a strong temptation to cut the garden back aggressively.
Resist it.
Before pruning, ask:
- Is the plant supposed to be pruned at this time?
- Is the growth diseased?
- Is the branch damaged?
- Is there a safety concern?
- Does the plant benefit from winter structure?
- Could pruning stimulate unwanted growth?
Some plants are better pruned during dormancy, while others benefit from being left standing through winter.
The correct answer depends on the plant.
20. Create a Winter Protection Station
Here’s a simple improvement that makes winter preparation much easier.
Keep your winter-protection supplies together.
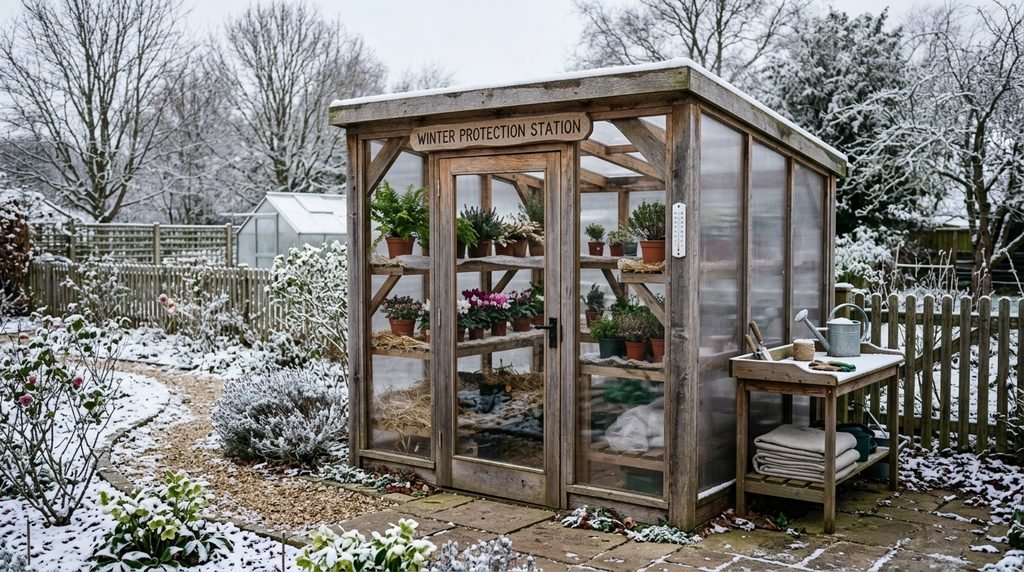
For example:
- Frost cloth
- Plant ties
- Stakes
- Garden twine
- Mulching material
- Suitable covers
- Hand pruners
- Weather thermometer
Store them somewhere dry and easy to reach.
When the forecast suddenly changes, preparation becomes much easier when everything is already in one place.
21. Make a Winter Risk Map
This is a simple technique that can make Frosty Flora’s approach more practical than generic winterization advice.
Walk through the garden and identify its microclimates.
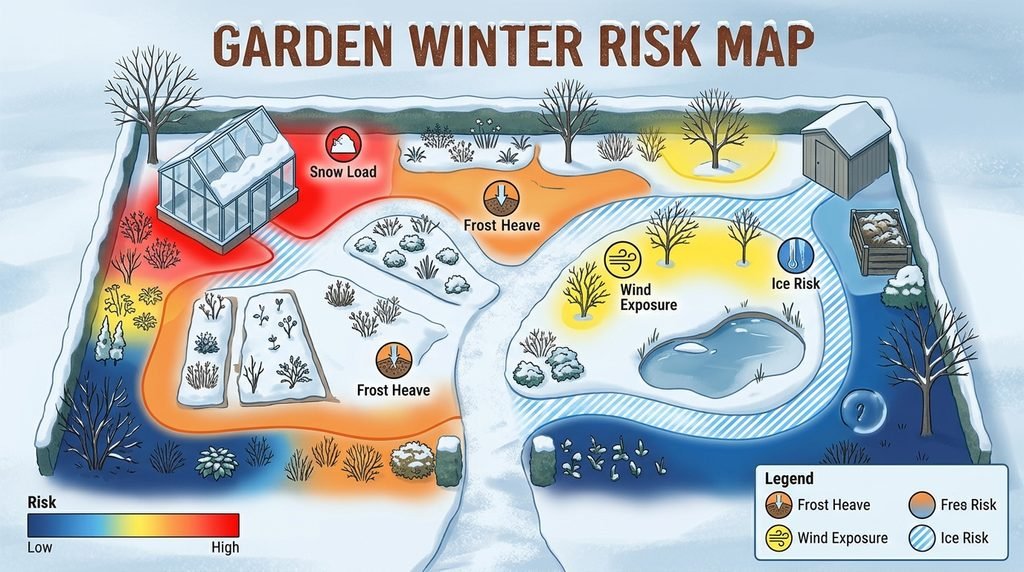
Mark areas that are:
- Exposed to prevailing winter winds
- At the bottom of slopes
- Against warm walls
- Under tree canopies
- Poorly drained
- Particularly exposed to open sky
- Sheltered from wind
- Prone to frost accumulation
You may discover that two plants only 20 feet apart experience completely different winter conditions.
Why this matters
Winter damage is not determined by the thermometer alone.
A sheltered plant against a south-facing wall may experience very different conditions from an otherwise identical plant sitting in an open low spot.
Once you understand these microclimates, winter protection becomes much more targeted.
22. Use a Risk-First Approach When Time Is Limited
Sometimes winter arrives earlier than expected.
If you only have a few hours to prepare, don’t try to complete every task.
Prioritize:
Highest priority
- Tender plants
- Vulnerable containers
- Newly planted trees and shrubs
- Water systems exposed to freezing
- Weak structures
- Exposed roots
Medium priority
- Soil protection
- Mulching
- Disease cleanup
- Tool and equipment preparation
Lower priority
- Cosmetic cleanup
- Organizing decorative items
- General tidying
This approach can make the difference between protecting the garden successfully and simply making it look clean before winter.
A Practical Winter Garden Preparation Schedule
Don’t try to do everything on one day.
| Timing | What to do |
|---|---|
| Several weeks before expected frost | Inspect garden and identify risks |
| Early preparation period | Deal with disease, weeds, drainage and repairs |
| As growth slows | Finish necessary harvesting and seasonal cleanup |
| As soil cools | Apply appropriate winter mulch |
| Before damaging frost | Protect tender plants and containers |
| Before sustained freezing | Drain hoses and prepare water systems |
| Before snow/ice | Inspect structures and supports |
| Before long-term storage | Clean tools and powered equipment |
| Immediately before severe cold | Perform final vulnerability check |
This staged approach is less stressful and gives you room to respond when weather changes unexpectedly.
What Not to Do When Preparing Your Garden for Winter
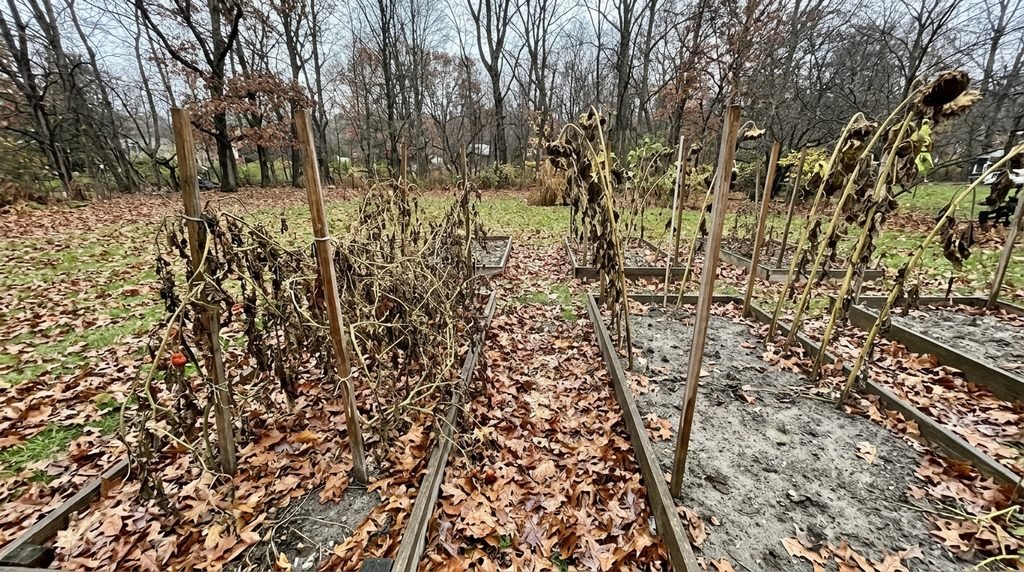
Don’t clear every plant from the garden.
Some healthy plants provide winter habitat and structure.
Don’t work saturated soil.
You can damage soil structure by digging or walking on it when it is excessively wet.
Don’t pile mulch against trunks.
Protect the root zone rather than burying the base of woody plants.
Don’t assume every plant needs frost protection.
Cold-hardy plants and tender plants have different requirements.
Don’t leave hoses full of water.
Freezing water can damage equipment and plumbing components.
Don’t rely on a single frost date.
Weather varies from year to year.
Don’t prune everything automatically.
Plant-specific timing matters.
Don’t solve every winter problem with plastic.
Covers should be selected according to the problem they are intended to solve.
The Final 24-Hour Garden Check
When a significant freeze is approaching, don’t repeat your entire autumn checklist.
Do one focused inspection.
Check:
- Tender plants
- Newly planted specimens
- Containers
- Frost covers
- Exposed roots
- Hoses
- Outdoor water connections
- Weak structures
- Weather-sensitive equipment
Protect the things that are actually at risk.
This is the point where preparation becomes protection.
A Simple Winter Garden Preparation Checklist
Plants
- Identify cold-sensitive plants
- Check newly planted specimens
- Protect vulnerable plants
- Prepare container plants
- Decide which perennials should remain standing
Soil and beds
- Check drainage
- Look for exposed roots
- Control persistent weeds
- Remove problematic diseased material
- Protect exposed soil
- Apply appropriate mulch
Vegetable garden
- Harvest mature crops
- Identify crops intended to overwinter
- Remove unhealthy plants
- Protect winter crops where necessary
Water
- Disconnect hoses
- Drain hoses
- Prepare outdoor faucets
- Winterize irrigation according to its specifications
Lawn and equipment
- Manage excessive leaves
- Continue appropriate mowing until growth stops
- Prepare mower and other equipment
- Clean and sharpen hand tools
Structures
- Inspect trellises
- Check raised beds
- Inspect supports
- Check greenhouses/cold frames
- Repair weak structures
Final check
- Check the latest weather forecast
- Make sure frost protection is accessible
- Protect vulnerable containers
- Complete final water-system checks
Final Thoughts
Preparing a garden for winter is best thought of as risk management rather than seasonal housekeeping.
Start by walking the entire garden and identifying what is actually vulnerable. Protect tender plants before frost arrives, give newly planted specimens and containers extra attention, protect exposed soil without creating drainage problems, and prepare water systems before freezing weather.
At the same time, don’t feel compelled to remove every perennial stem, leaf or seed head.
A healthy winter garden doesn’t have to look empty.
The most effective winter preparation is selective: remove what can cause problems, protect what is vulnerable, preserve what is beneficial, and leave the garden in a condition where it can handle the weather with minimal intervention.
If you prepare gradually instead of waiting for the first hard freeze, winter becomes much easier to manage, and spring starts with far fewer problems to fix.