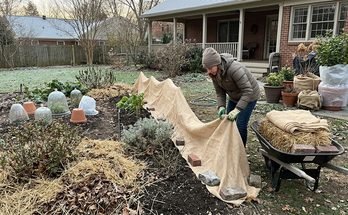
Winter may slow the garden down, but it doesn’t mean there is nothing left to do. Preparing your garden beds before freezing weather arrives can protect the soil, reduce winter damage, control weeds, and give your plants a healthier start when the growing season returns.
If you’re wondering how to winterize garden beds, the process is more than simply removing dead plants and walking away. A well-prepared garden balances cleanup with soil protection, plant care, moisture management, and wildlife considerations.
This guide explains how to prepare garden beds for winter, including vegetable gardens, flower beds, and raised beds.
What Does It Mean to Winterize a Garden Bed?
Winterizing a garden bed means preparing the soil and plants to handle colder weather while maintaining good growing conditions for the following season.
Depending on your garden and climate, winter preparation may involve:
- Harvesting remaining crops
- Removing diseased or heavily infested plants
- Managing weeds
- Protecting exposed soil
- Adding suitable mulch
- Checking soil condition
- Protecting vulnerable plants
- Inspecting raised-bed structures
- Deciding which healthy plant material should remain
- Planning for the next growing season
The exact approach should depend on your climate, soil, plants, and the type of garden bed you’re maintaining.
When Should You Winterize Garden Beds?
There isn’t one universal date for winter garden preparation.
The best time depends on when temperatures begin to fall consistently in your area and when your main growing season comes to an end.
A practical approach is to begin winterizing after you’ve completed most of your harvesting but before the ground becomes difficult to work.
A typical sequence is:
- Finish harvesting mature crops.
- Remove diseased or seriously damaged plants.
- Deal with weeds.
- Evaluate the soil.
- Add amendments if they are genuinely needed.
- Protect the soil surface.
- Prepare vulnerable plants for freezing conditions.
- Inspect raised beds and make necessary repairs.
- Decide whether winter covers or other protection are appropriate.
Don’t rush to cut back every perennial or remove every piece of plant material. Some plants can provide valuable winter habitat and visual interest.
How to Winterize Garden Beds Step by Step
1. Finish Harvesting
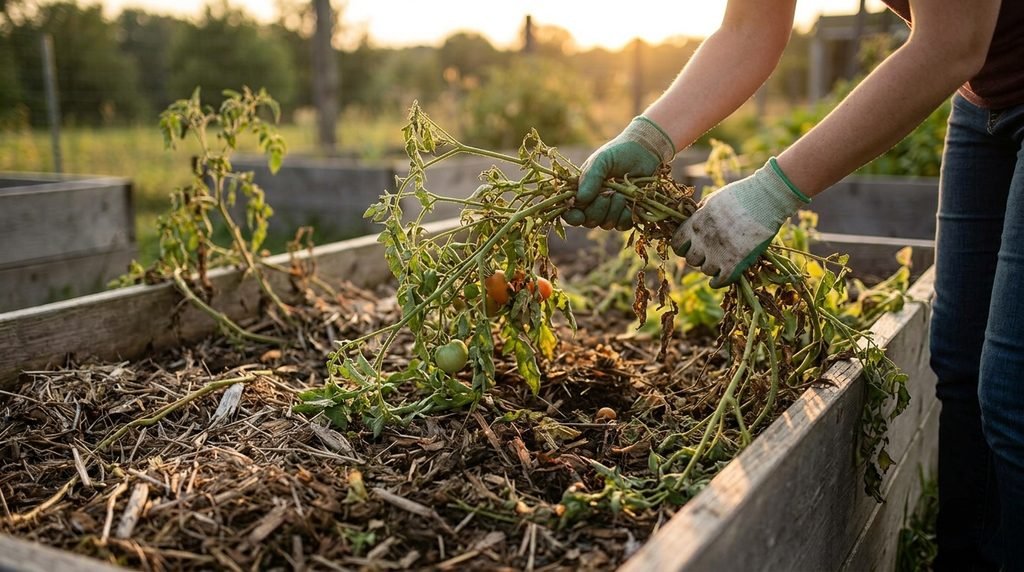
Start by harvesting vegetables, herbs, and other crops that are ready to come out of the garden.
Remove mature crops that are no longer productive and collect any remaining produce that could be damaged by freezing temperatures.
However, not every crop needs to be removed immediately.
Some cool-season vegetables can tolerate low temperatures and may continue producing during part of the winter, depending on your climate and the specific variety.
If you’re growing winter vegetables, leave suitable crops in place and protect them when necessary rather than treating every garden bed as finished for the season.
2. Remove Diseased or Heavily Infested Plants
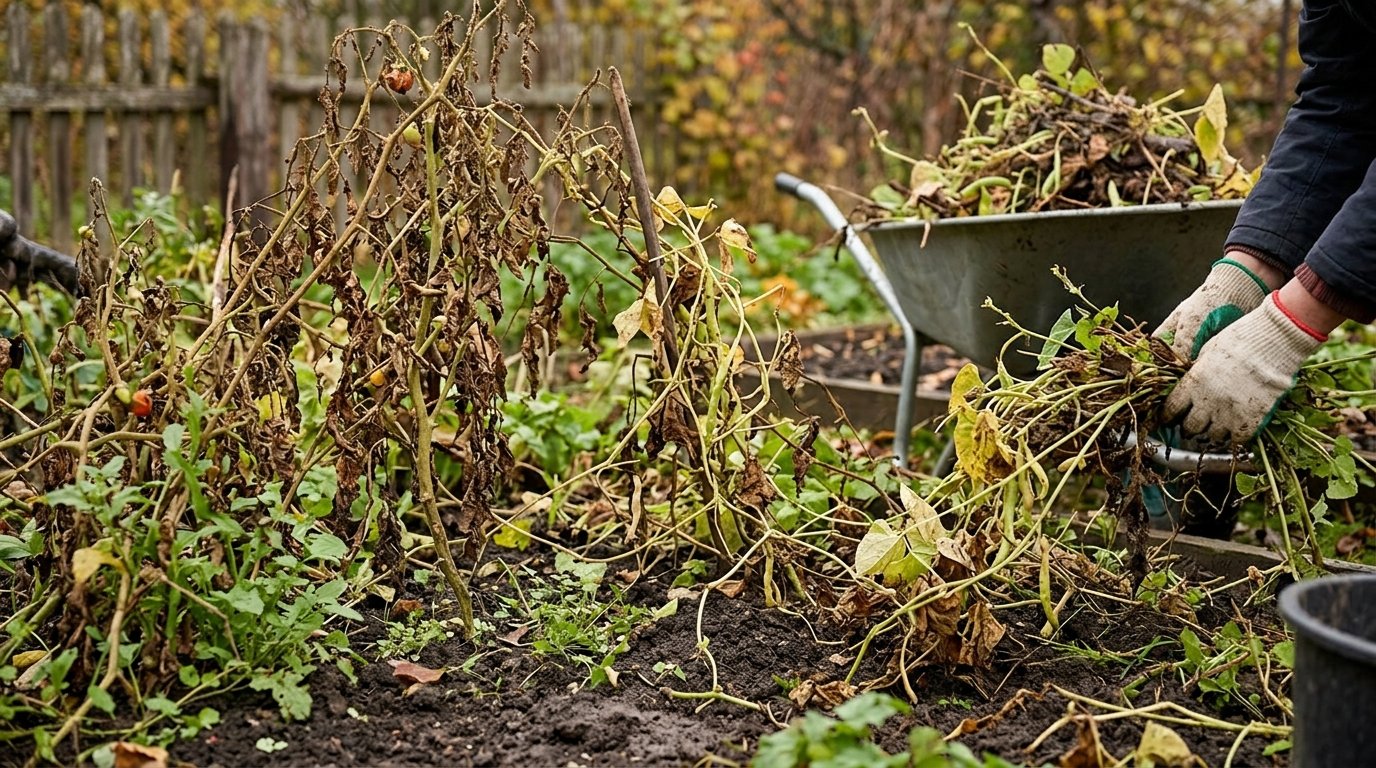
One of the most important steps in preparing garden beds for winter is dealing with unhealthy plant material.
Plants showing significant signs of disease or severe pest problems should generally be removed rather than simply left on the soil surface.
Diseased material can potentially contribute to future problems, particularly when the same plants or related crops will be grown in the same area again.
Healthy plant material is a different matter. It may sometimes be chopped and left to decompose, depending on your gardening system and local conditions.
The important point is to avoid treating healthy and diseased residues exactly the same way.
3. Decide What to Do With Healthy Plant Material
A perfectly bare garden isn’t always the goal.
Some healthy stems, leaves, and seed heads can provide shelter and food for insects and birds during winter. Leaving selected plant material in place can therefore benefit the wider garden ecosystem.
This can be especially valuable in ornamental and perennial beds.
For vegetable beds, healthy residues can sometimes be chopped into smaller pieces so they break down more readily.
Use your judgment based on the plants involved and their health.
The basic rule is simple:
Remove material that could create problems, but don’t remove healthy material simply because it looks untidy.
4. Remove Persistent Weeds
Winter doesn’t necessarily eliminate weeds.
Before the garden becomes dormant, remove persistent weeds and prevent them from producing additional seeds whenever possible.
For small garden beds, hand-pulling may be enough. Mulch can also help suppress new weed growth.
Try to avoid unnecessary soil disturbance while removing weeds. Excessive digging or tilling can disturb soil structure and expose additional weed seeds.
A well-managed garden bed should enter winter with as little unnecessary competition from weeds as possible.
5. Check the Soil
Fall is a useful time to evaluate your garden soil.
If plants struggled during the growing season, don’t automatically assume that adding fertilizer or compost will solve the problem.
Instead, consider whether a soil test would provide useful information.
A soil test can help identify issues involving:
- Soil pH
- Nutrient availability
- Organic matter
- Other soil characteristics
Testing can be particularly useful before establishing another vegetable crop in the same bed.
The results can help you decide whether an amendment is actually necessary rather than adding products based on guesswork.
6. Add Organic Matter When Appropriate
If your soil needs additional organic matter, winter preparation can be a convenient opportunity to address it.
Compost is commonly used in home gardens, but more isn’t necessarily better.
Adding excessive amounts of compost or other amendments without understanding the condition of your soil can create its own problems.
Use soil-test information and the needs of your particular garden to guide amendments.
For established beds, maintaining soil health is usually more valuable than trying to dramatically change the soil every year.
7. Protect the Soil With Mulch
One of the most useful parts of winter garden prep is protecting exposed soil.
A suitable layer of mulch can help:
- Reduce temperature fluctuations
- Protect plant roots
- Conserve moisture
- Suppress weeds
- Reduce erosion
- Add organic matter as it decomposes
Depending on your garden, suitable materials may include:
- Shredded leaves
- Straw
- Bark
- Wood chips
- Other appropriate organic materials
The right material depends on whether you’re protecting vegetables, perennials, shrubs, or bare soil.
Avoid piling mulch directly against plant crowns or woody stems. Excess moisture around the base of a plant can create additional problems.
8. Protect Vulnerable Plants
Not every plant has the same tolerance for cold.
Before winter arrives, identify plants that may require additional protection.
Depending on the plant and your climate, protection may include:
- Mulching around the root zone
- Using frost cloth or row covers
- Moving containers to protected locations
- Creating temporary barriers against cold winds
- Using other appropriate winter-protection techniques
Don’t apply the same protection to every plant.
A cold-hardy perennial may need little intervention, while a tender plant may require substantial protection.
How to Prepare Raised Beds for Winter
Raised beds need special consideration because their soil is more exposed to surrounding temperatures than soil at ground level.
If you’re learning how to prepare raised beds for winter, start with the structure itself.
Inspect the Raised Bed
Check the sides and corners of the bed for:
- Rot
- Cracks
- Loose connections
- Movement
- Structural damage
- Soil escaping from the sides
Repairing these problems before winter can prevent more significant issues later.
Protect the Soil Surface
Don’t leave valuable raised-bed soil unnecessarily exposed throughout winter.
Depending on your climate and gardening system, you can use:
- Organic mulch
- Cover crops
- Suitable garden covers
- Winter crops
- Other soil-protection methods
The goal is to reduce erosion and protect the soil while allowing appropriate moisture and air movement.
Avoid Walking on Raised Beds
One of the advantages of raised beds is that they can be designed so you don’t need to walk through the growing area.
Keep foot traffic on designated paths whenever possible.
Walking on garden soil can compact it, reducing the spaces through which air and water move.
Check Drainage
Winter precipitation can expose drainage problems that weren’t obvious during dry weather.
Make sure water can drain away from the bed rather than remaining saturated for extended periods.
Poor drainage can be especially damaging when freezing temperatures arrive.
What to Do With Raised Garden Beds in Winter
You don’t need to dismantle a raised bed simply because the growing season is over.
For an unused raised bed, a practical winter routine is:
- Harvest remaining crops.
- Remove diseased plants.
- Control weeds.
- Check the soil.
- Add amendments only when appropriate.
- Protect the soil surface.
- Inspect the structure.
- Repair damaged sections.
- Decide whether mulch, cover crops, or another covering is appropriate.
- Plan the next growing season.
This approach keeps the bed intact and ready for spring.
Preparing a Vegetable Garden for Winter
Vegetable beds often need more extensive cleanup than ornamental beds because annual crops are usually removed at the end of their productive period.
When preparing a vegetable garden for winter, consider the following:
Harvest Remaining Crops
Collect mature vegetables before severe freezing weather arrives unless the crop is intentionally being grown through winter.
Remove Diseased Plants
Don’t leave heavily diseased plant material in the bed without considering the potential consequences for future crops.
Manage Healthy Residues
Healthy plant residues can sometimes be chopped and incorporated into the garden’s organic matter cycle.
Control Weeds
Remove weeds before they have an opportunity to establish or produce seeds.
Protect the Soil
Use suitable mulch, cover crops, or another appropriate method to prevent the soil from remaining unnecessarily exposed.
Consider Winter Crops
If your climate permits, some garden beds can remain productive during winter rather than being completely dormant.
Preparing Flower Beds for Winter
Flower beds require a slightly different approach.
Some plants benefit from being cut back, while others are better left partially intact through winter.
Before cutting everything down, consider:
- Is the plant healthy?
- Does it provide winter habitat?
- Do its seed heads provide food for birds?
- Does leaving its stems offer protection?
- Is the plant susceptible to disease?
- Does the plant require specific winter protection?
Leaving selected perennial stems and seed heads can provide winter interest while supporting insects and birds.
However, plants with serious disease problems should be handled according to the requirements of the particular disease.
Should You Cover Garden Beds for Winter?
Whether you should cover a garden bed depends on why you’re covering it.
Covering may be useful for:
- Protecting actively growing crops
- Reducing erosion
- Suppressing weeds
- Protecting soil
- Extending the growing season
- Providing additional protection from cold
But covering an empty garden bed with plastic simply because winter is approaching isn’t always necessary.
Different materials serve different purposes.
Organic Mulch
Leaves, straw, bark, and other organic materials can protect the soil while gradually breaking down.
Row Covers
Fabric row covers can provide protection for certain crops while allowing air and moisture to move through the material.
Plastic Covers
Plastic can be useful in some gardening systems, but it needs to be used appropriately.
Improperly placed plastic can interfere with ventilation, moisture management, or plant health.
Choose the covering based on the problem you’re trying to solve rather than treating covering as a mandatory part of winterization.
Putting Your Garden to Bed for the Winter
The phrase “putting your garden to bed for the winter” can make it sound as though the garden needs to be completely cleared.
It doesn’t.
A healthy winter garden can contain:
- Mulched soil
- Winter vegetables
- Perennial stems
- Seed heads
- Protected plants
- Cover crops
- Beneficial insect habitat
The objective is to create a stable environment that protects the garden without doing unnecessary work.
Think of winterization as preparing the garden for dormancy, not eliminating everything from it.
Common Mistakes When Winterizing Garden Beds
Clearing Everything Too Early
Removing every stem, leaf, and seed head can eliminate useful winter habitat.
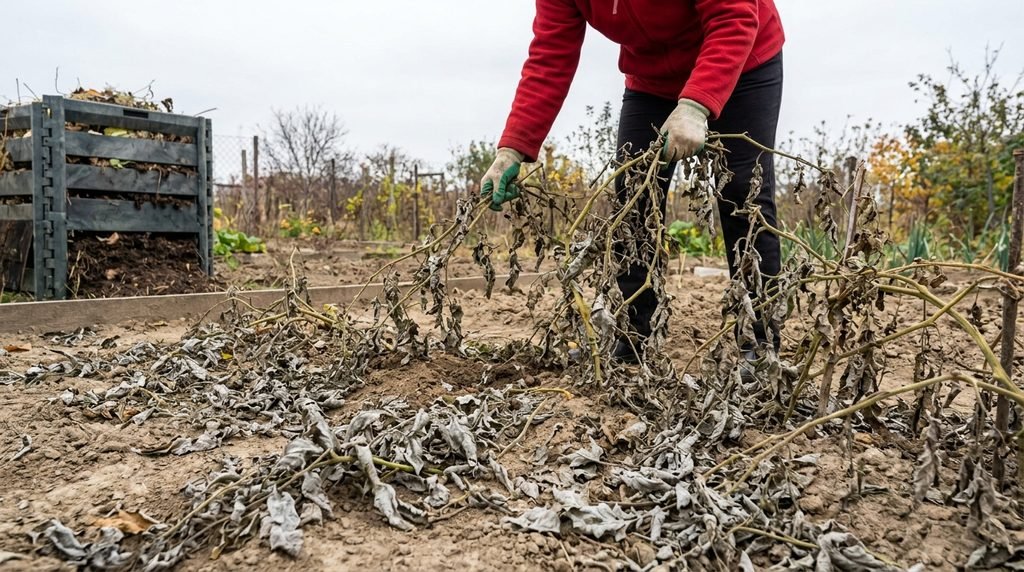
Leaving Diseased Material Behind
Healthy and diseased plant residues shouldn’t automatically be treated in the same way.
Adding Too Much Compost
More organic matter isn’t always better. Use soil information and the needs of your plants to guide amendments.
Leaving Soil Bare
Exposed soil may be vulnerable to erosion and temperature fluctuations.
Over-Tilling
Excessive soil disturbance can damage soil structure and disrupt organisms living in the soil.
Using Too Much Mulch
A thick pile of mulch isn’t necessarily more protective. Excessive mulch can retain too much moisture around some plants.
Covering Everything With Plastic
Plastic isn’t a universal winter solution. Use covers for a specific purpose and choose materials appropriate for the plants and conditions.
Ignoring Drainage
Winter rain, snow, and freezing conditions can make poorly drained beds particularly vulnerable.
Winter Garden Bed Checklist
Before your garden enters its coldest period, use this quick checklist:
- Finish harvesting mature crops.
- Remove seriously diseased or infested plants.
- Control persistent weeds.
- Decide which healthy plant material should remain.
- Check soil condition.
- Consider a soil test if necessary.
- Add amendments only when appropriate.
- Protect exposed soil.
- Apply suitable mulch.
- Identify vulnerable plants.
- Provide additional frost protection where needed.
- Inspect raised-bed structures.
- Check drainage.
- Avoid unnecessary soil disturbance.
- Decide whether a winter cover is actually needed.
- Make a plan for the next growing season.
Final Thoughts
Learning how to winterize garden beds doesn’t mean stripping the garden bare before the first freeze.
The best winter preparation is thoughtful rather than excessive.
Harvest what needs harvesting, remove unhealthy plant material, control weeds, assess your soil, protect exposed ground, use mulch appropriately, and give vulnerable plants the protection they need.
At the same time, consider leaving healthy stems, seed heads, and other useful plant material where appropriate. A winter garden can still support wildlife, protect the soil, and provide valuable preparation for the growing season ahead.
With the right approach, winterization becomes less of a yearly cleanup chore and more of an investment in the health of your garden.
Quick Takeaway
The essential steps for winterizing garden beds are:
Harvest → Clean Up → Control Weeds → Assess Soil → Protect Soil → Mulch → Protect Vulnerable Plants → Inspect Beds → Prepare for Spring
A little thoughtful preparation before winter can make your garden more resilient during cold weather and easier to manage when the growing season begins again.