Winter preparation is much easier when you treat it as a sequence rather than a last-minute cleanup job.
A garden can look perfectly healthy in autumn while still having several vulnerabilities waiting for the first hard freeze: exposed roots, waterlogged soil, forgotten hoses, tender plants left in exposed containers, or tools put away while still covered in damp plant debris.
This winter garden checklist is designed to help you work through those jobs in the right order.
You don’t need to complete everything in one afternoon. In fact, spreading the work over several weeks is often better because some tasks should be done before the first frost, while others are best completed after the garden has gone dormant.
Quick Winter Garden Checklist
Here is the complete checklist at a glance:
| Task | Best timing | Priority |
|---|---|---|
| Check the local first-frost forecast | Before winter preparation | High |
| Inspect plants for winter vulnerability | Before first frost | High |
| Remove diseased plant material | Before winter | High |
| Remove spent annuals | Before persistent cold | Medium |
| Weed garden beds | Before winter | Medium |
| Check exposed roots | Before freezing | High |
| Apply appropriate winter mulch | After soil has cooled | High |
| Protect frost-sensitive plants | Before damaging frost | High |
| Prepare containers and pots | Before hard freezes | High |
| Disconnect and drain hoses | Before freezing | High |
| Prepare irrigation system | Before freezing | High |
| Clean and store garden tools | Before long-term storage | Medium |
| Check garden structures | Before snow/ice | Medium |
| Complete a final frost inspection | Immediately before first hard freeze | High |
The important point is that not every job belongs on the same day.
1. Check When Your First Frost Is Likely
Before doing anything else, establish your approximate frost window.
Your local average first frost date is useful as a planning reference, but don’t treat it as a guaranteed appointment with the weather.
Actual frost can arrive earlier or later depending on local conditions.
This matters because some jobs have a very narrow window.
For example:
- Tender plants may need protection before the first damaging frost.
- Soil should not be worked when it is excessively wet.
- Containers may need protection before a hard freeze.
- Irrigation and hoses should be prepared before water inside them can freeze.
A better approach
Instead of asking:
“When should I winterize my garden?”
ask:
“Which parts of my garden are vulnerable to the next significant cold event?”
That small change in thinking makes your preparation much more practical.
2. Walk the Entire Garden Before Cleaning Anything
Take a slow walk around the property first.
Don’t immediately start cutting, pulling and raking.
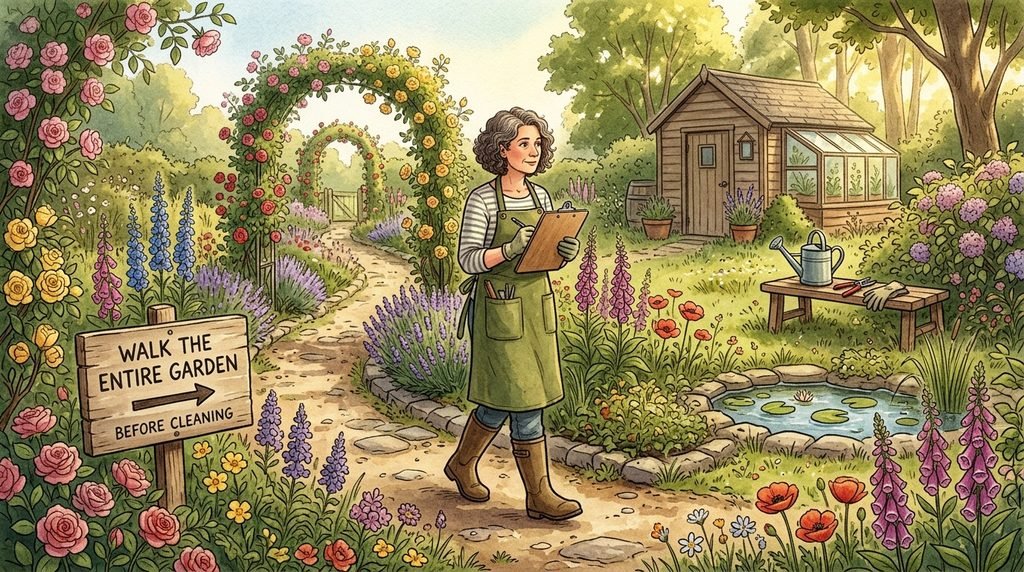
Look for:
- Tender plants
- Newly planted specimens
- Exposed roots
- Damaged branches
- Poor drainage
- Wind-exposed locations
- Plants sitting in low areas
- Containers that cannot remain outdoors safely
- Loose stakes or supports
- Irrigation components
- Garden structures that could be damaged by snow or ice
This initial inspection is one of the most valuable steps because winter preparation is not simply about removing things.
Sometimes the correct action is to leave a plant alone.
For example, some perennial stems and seed heads can provide winter habitat and food for wildlife. Others may contribute to disease problems if left in place.
The right decision depends on the plant and your garden’s conditions.
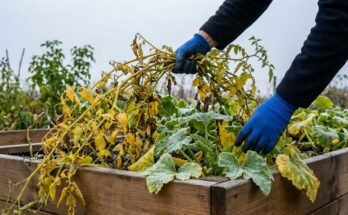
3. Remove Diseased Plant Material First
Before general garden cleanup, deal with plants showing obvious disease problems.
Remove affected leaves, stems and other plant debris where appropriate, and dispose of diseased material according to local guidance.
Don’t automatically put questionable diseased material into your home compost pile.
Why do this before winter?
Persistent plant debris can provide a place for some pests and pathogens to survive until the next growing season.
But avoid the temptation to sterilize your entire garden.
A good winter cleanup is selective, not destructive.
Healthy organic material can sometimes be left in place where it benefits soil life or wildlife and does not create a disease problem.
4. Clear Weeds Before They Become a Spring Problem
Autumn is a good time to deal with weeds that are competing with plants or producing seeds.
Remove established weeds before applying winter mulch.
Otherwise, you may effectively create a comfortable blanket over the weeds.
Pay particular attention to:
- Weeds around perennial crowns
- Weeds in raised beds
- Weeds around young trees and shrubs
- Seed-producing weeds
- Weeds growing through cracks around garden structures
The goal isn’t to make every square inch of soil bare.
It’s to prevent unwanted competition from becoming harder to manage next spring.
5. Inspect the Soil Before Adding Mulch
Don’t automatically spread a thick layer of mulch simply because winter is approaching.
First check the condition of the soil.
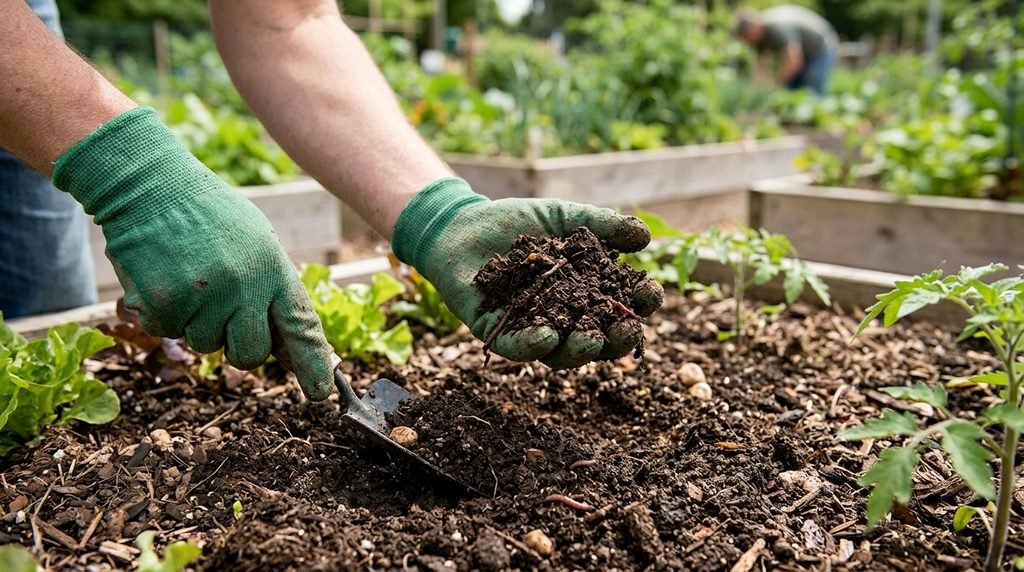
Ask:
- Is the soil already saturated?
- Does water drain away normally?
- Are roots exposed?
- Is erosion occurring?
- Is the soil compacted?
- Has mulch already accumulated from previous seasons?
One important winterization principle
Mulch is insulation, not a cure for poor drainage.
If a planting bed stays saturated, piling more organic material on top won’t solve the underlying drainage problem.
Likewise, avoid piling mulch directly against tree trunks or shrub stems.
A small gap around the base helps prevent persistent moisture from remaining against the bark.
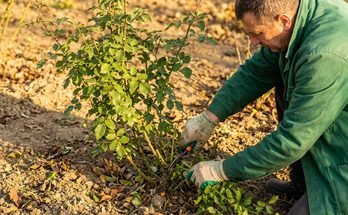
6. Protect Exposed Roots
Young plants and recently disturbed planting areas deserve particular attention.
Roots near the soil surface are more vulnerable to rapid temperature changes than roots surrounded by a stable volume of soil.
Check for:
- Soil erosion
- Exposed roots
- Newly planted shrubs
- Newly planted trees
- Areas where heavy rain has washed soil away
Correct exposed roots appropriately before severe freezing arrives.
This is particularly important in gardens where winter alternates between freezing and thawing.
7. Apply Winter Mulch at the Right Time
Mulch can help moderate soil-temperature fluctuations and reduce moisture loss.
But timing matters.
Applying very heavy mulch while the soil is still warm and conditions are wet can create an environment that is less desirable than the gardener intended.
For many perennial beds, a more useful strategy is to wait until the soil has cooled and plants have entered dormancy, then apply an appropriate protective layer.
Good winter mulch materials can include:
- Shredded leaves
- Straw
- Pine needles
- Chipped organic materials
- Well-managed compost or other suitable organic amendments
The best material depends on the plant, climate and purpose.
Don’t assume that the thickest layer is the safest layer.
8. Identify Plants That Need Frost Protection
Now separate your plants into three practical groups:
Group 1 — Cold-hardy plants
These generally require little intervention beyond normal winter preparation.
Group 2 — Borderline plants
These may survive your winter but benefit from protection during unusually cold events.
Group 3 — Tender plants
These require deliberate protection or relocation.
This classification is more useful than applying one winterization treatment to every plant.
Make a simple plant protection list
| Plant | Winter risk | Action |
|---|---|---|
| Hardy perennial | Low | Normal winter preparation |
| Newly planted shrub | Moderate | Protect root zone |
| Tender annual | High | Remove or relocate |
| Container plant | Depends on species | Protect root system |
| Young evergreen | Moderate/high | Monitor wind and cold exposure |
The exact treatment should always be based on the plant’s cold tolerance and your local winter conditions.
9. Don’t Wait Until the Freeze to Protect Tender Plants
One of the most common winter-gardening mistakes is waiting for visible frost before doing anything.
Weather forecasts can change quickly.
If a damaging freeze is expected, have your protective materials ready beforehand.
Useful materials can include:
- Frost cloth
- Breathable fabric covers
- Blankets for suitable temporary applications
- Stakes or supports
- Mulching material
- Containers for moving plants indoors or to sheltered locations
Avoid treating plastic sheeting as a universal plant blanket. Plastic can transfer cold rapidly and may cause other problems if it contacts foliage or remains in place under strong daytime sunlight.
For temporary frost protection, properly supported breathable covers are generally easier to manage.
10. Give Container Plants Special Attention
Plants growing in containers face a different winter problem from plants growing in the ground.
The surrounding soil volume in a pot is much smaller, so the root zone can experience temperature extremes more quickly.
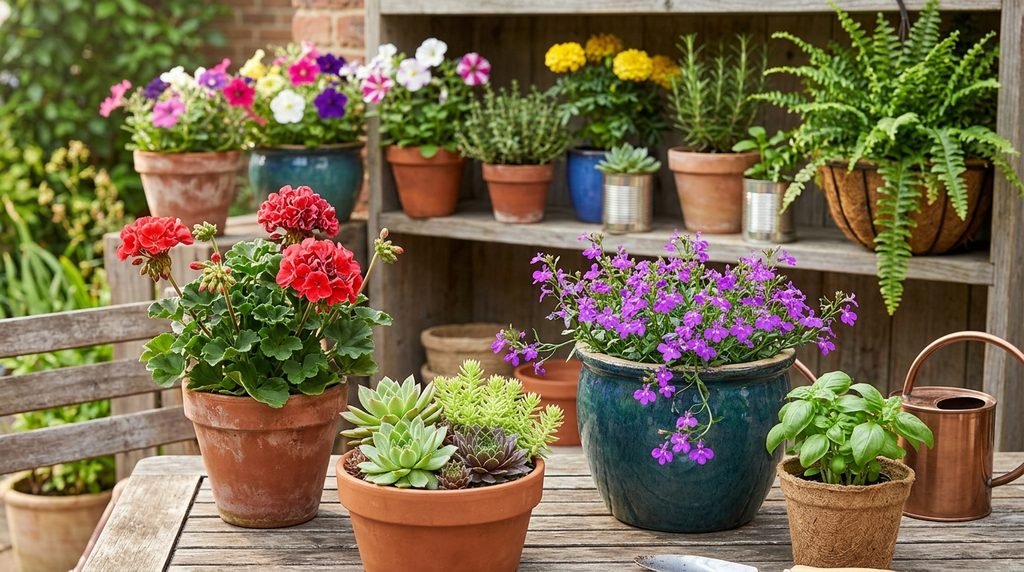
Before winter, decide which containers should:
- Remain outdoors
- Move against a sheltered wall
- Be grouped together
- Be insulated
- Be moved into an appropriate protected environment
Don’t make the mistake of judging winter risk solely from the plant’s above-ground hardiness.
A plant that survives your winter in the ground may be considerably more vulnerable when its roots are confined to a pot.
11. Prepare Hoses and Outdoor Water Equipment
Freezing water expands.
That makes water systems one of the easiest parts of a garden to damage if winter preparation is neglected.
Before sustained freezing weather:
- Disconnect garden hoses.
- Drain hoses completely.
- Empty suitable watering equipment.
- Protect exposed fittings where necessary.
- Follow the manufacturer’s winterization instructions for irrigation components.
For permanent irrigation systems, use the system manufacturer’s or installer’s recommended winterization procedure.
Don’t assume that simply turning the water supply off removes all water from the system.
12. Inspect Outdoor Faucets and Water Connections
Check outdoor faucets and exposed connections for leaks or damage.
Where your plumbing system requires it, shut off and drain exposed outdoor water lines before hard freezes.
This isn’t strictly a plant-care task, but it belongs on a complete winter garden checklist because a damaged water line can turn a small winterization oversight into an expensive repair.
13. Clean Your Garden Tools
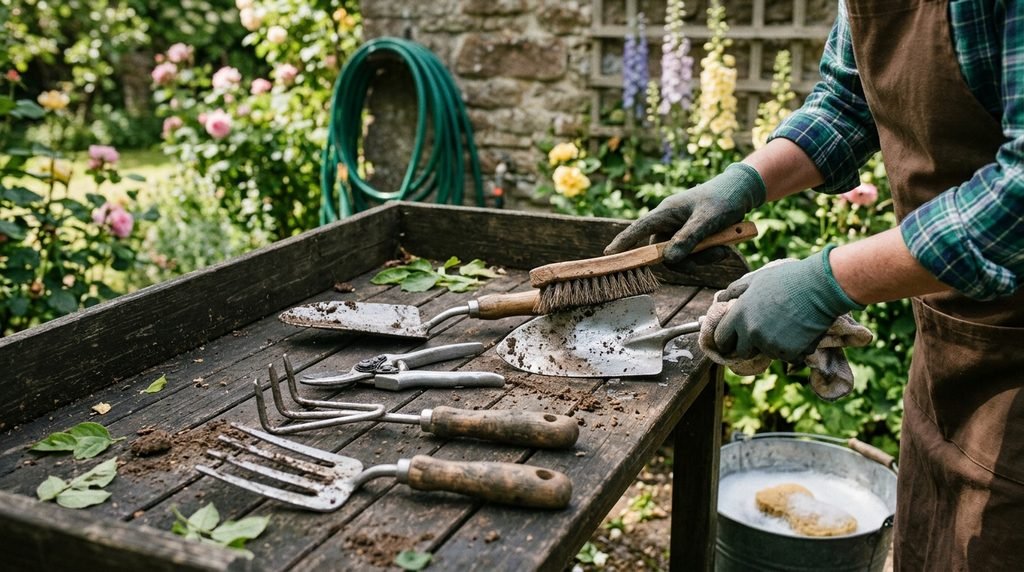
Before storing tools for winter:
- Remove soil.
- Wash away plant residue where appropriate.
- Dry the tools thoroughly.
- Inspect handles.
- Check cutting edges.
- Sharpen tools that need it.
- Protect suitable metal surfaces from corrosion.
- Store everything somewhere dry.
Don’t put wet tools into a sealed toolbox or damp shed and expect them to emerge in spring rust-free.
A useful habit
Sharpen pruners, loppers and other cutting tools before putting them away.
That way, the first spring pruning session starts with equipment that is actually ready to use.
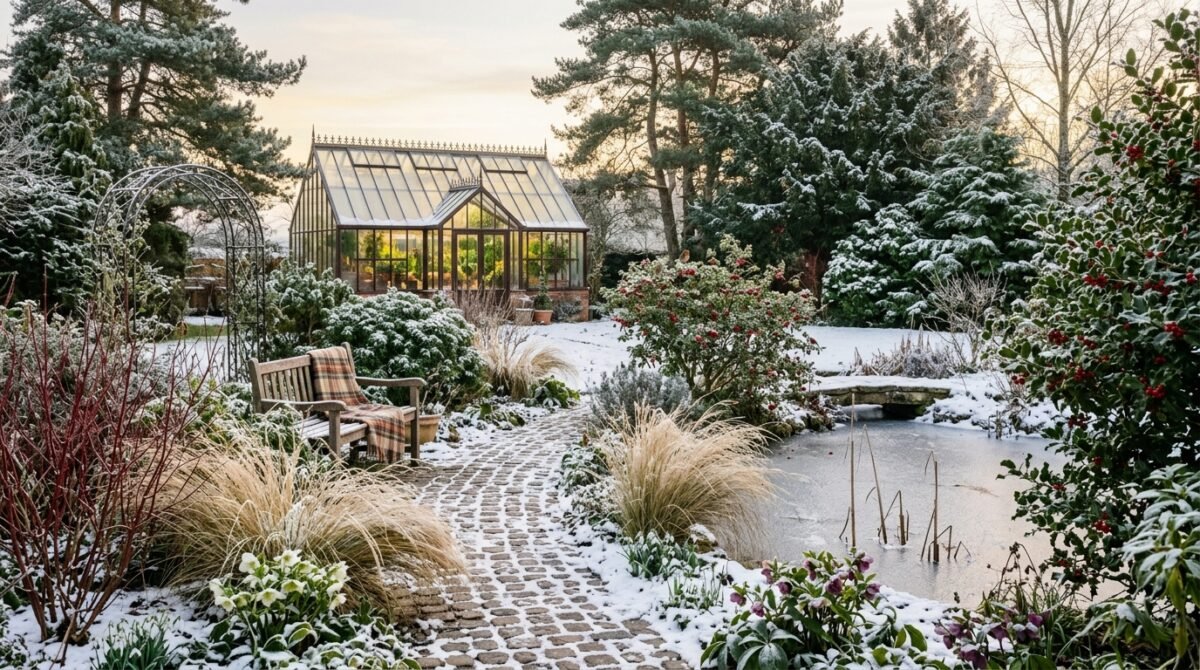
14. Check Garden Structures Before Snow Arrives
Walk around your garden and inspect:
- Trellises
- Stakes
- Raised beds
- Cold frames
- Greenhouses
- Fences
- Garden arches
- Shelters
- Plant supports
Repair weak points before heavy snow, ice or strong winter winds arrive.
A structure that survives autumn storms may still fail under the weight of wet snow.
If you have a greenhouse or cold frame, check seals, panels and ventilation components before temperatures become consistently cold.
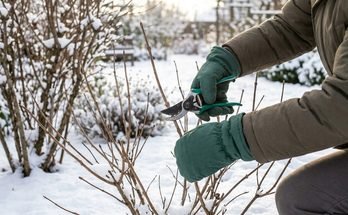
15. Don’t Automatically Cut Everything Back
This is where experienced winter gardeners often take a different approach from aggressive autumn cleanup.
Some plants benefit from being cut back once dormant. Others can provide winter structure, wildlife habitat or visual interest when their stems are left standing.
Before cutting a perennial to the ground, ask:
Does removing this growth actually improve winter survival or reduce a genuine problem?
If the answer is no, leaving some healthy stems until late winter or early spring may be the better choice.
This is particularly relevant for gardens designed to support winter wildlife.
16. Complete a Final Frost Inspection
Once the forecast starts showing a genuine risk of frost or freezing temperatures, perform one final walk-through.
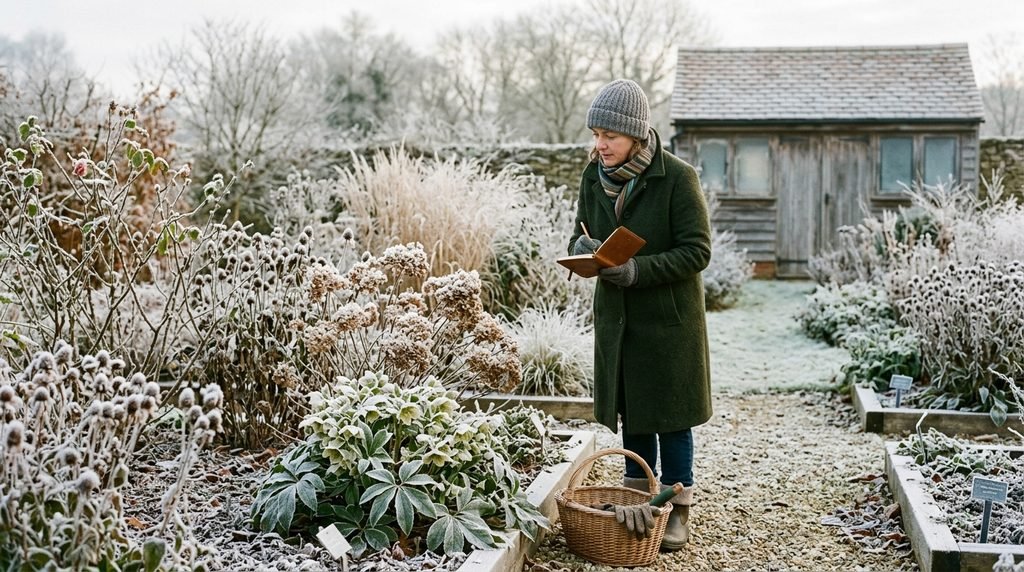
Check:
- Tender plants
- Newly planted plants
- Containers
- Frost covers
- Exposed roots
- Mulch
- Outdoor water equipment
- Garden structures
- Weather-sensitive equipment
This final inspection should be quick because most preparation has already been completed.
Think of it as your pre-freeze safety check, not another full garden cleanup.
Your 24-Hour Before-Frost Checklist
If the weather forecast suddenly changes and a frost is approaching, concentrate on the tasks that cannot wait.
Prioritize these:
- Move vulnerable containers to shelter.
- Protect frost-sensitive plants.
- Check newly planted specimens.
- Cover plants that require temporary frost protection.
- Make sure protective covers are secured.
- Check exposed water equipment.
- Confirm hoses are disconnected and drained.
- Avoid unnecessary disturbance of cold-sensitive plants.
Don’t spend the evening doing cosmetic garden cleanup while a tender plant is sitting completely exposed to an approaching freeze.
Protect living plants first; tidy the garden later.
Winter Garden Checklist: Printable Version
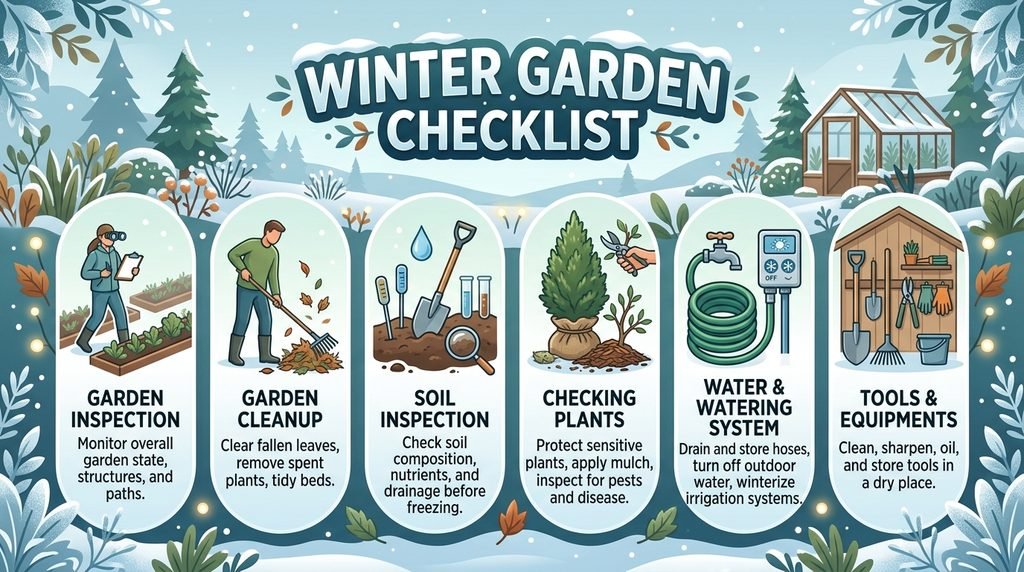
Garden inspection
- Check first-frost and freeze forecasts
- Walk the entire garden
- Identify tender and newly planted plants
- Check for exposed roots
- Inspect drainage
Garden cleanup
- Remove diseased plant material
- Remove problematic weeds
- Decide which healthy perennial stems should remain
- Remove spent annuals where appropriate
Soil and beds
- Check soil moisture
- Address exposed roots
- Apply appropriate winter mulch
- Check raised beds for damage
- Check for winter erosion risks
Plants
- Prepare frost-sensitive plants
- Protect vulnerable young plants
- Prepare container plants
- Move tender containers if necessary
- Keep frost-protection materials accessible
Water
- Disconnect hoses
- Drain hoses
- Prepare outdoor faucets
- Winterize irrigation according to its specifications
- Protect vulnerable water connections
Tools and equipment
- Clean garden tools
- Dry tools completely
- Sharpen cutting tools
- Check handles
- Inspect mower and other equipment
- Store equipment in a dry location
Structures
- Inspect trellises
- Check plant supports
- Inspect raised beds
- Check greenhouse/cold-frame components
- Secure structures against winter weather
Final check
- Complete a final frost inspection
- Confirm covers and protection are ready
- Check vulnerable plants one more time
The Most Important Winterization Principle
You don’t need to do more to winterize a garden.
You need to do the right things at the right time.
A common mistake is to treat winterization as an autumn cleanup project. Experienced gardeners know that winter preparation is really a risk-management exercise.
The plants that need protection should receive it before the damaging weather arrives. Soil should be protected without creating drainage problems. Containers should be treated differently from in-ground plants. Water systems need attention before freezing. And healthy plant material doesn’t necessarily need to be removed simply because winter is coming.
If you work through this checklist gradually, the final transition into winter becomes much less stressful, and your garden enters the cold season with fewer avoidable vulnerabilities.